Quality, the Cornerstone of Optikos Performance
Date
November 7, 2025
Author
Daniela Dandes
Time
4 min
Share this Post
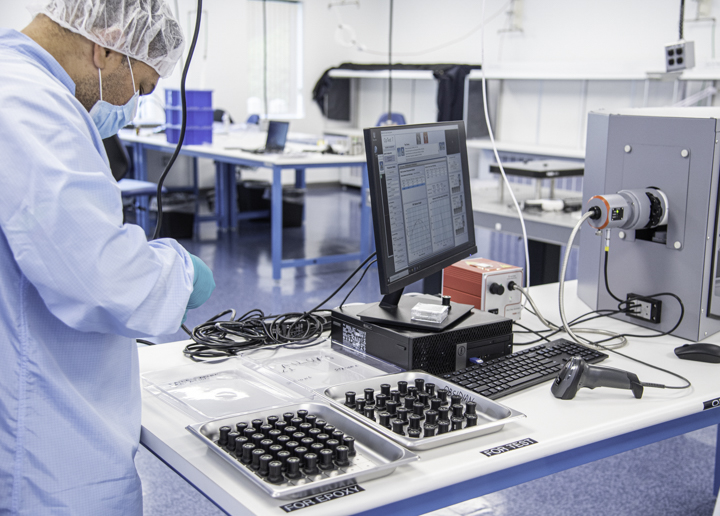
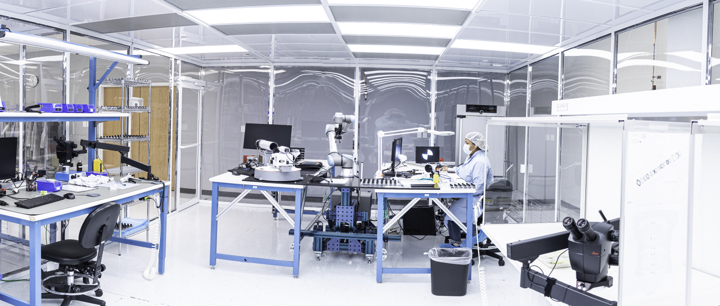
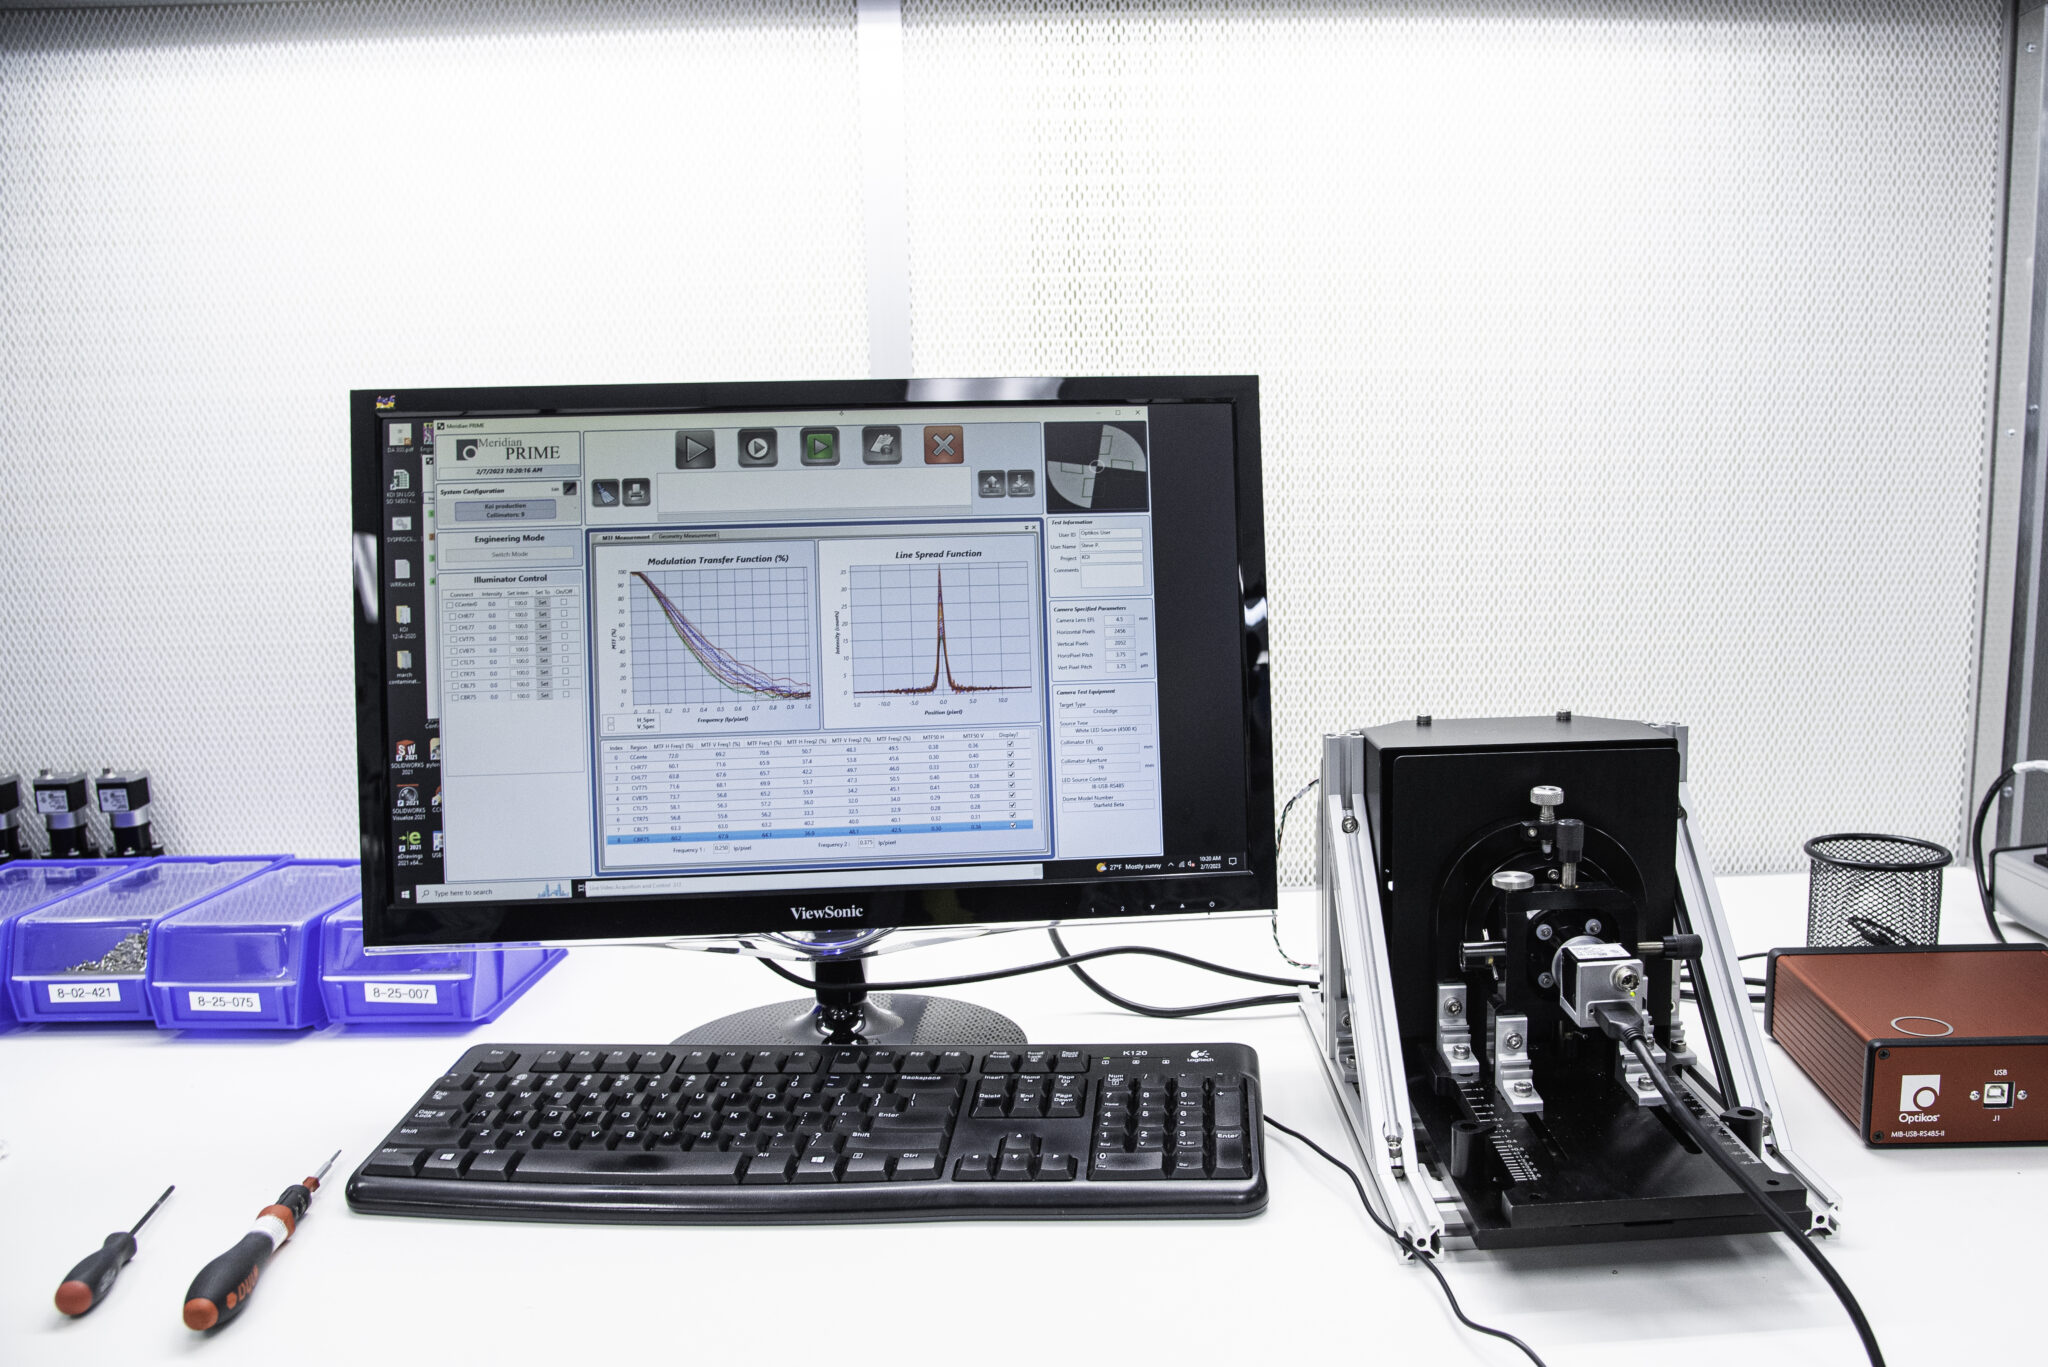

We don’t talk about quality as much as we could at Optikos; That’s because quality is inherent to our DNA. It forms a consistent thread through every stage of product development and validation. Whether we’re calibrating MTF (Modular Transfer Function) test systems across market functions, designing the optical focus verification system for NASA tracking telescopes, or engineering firsts like the optical system for the first commercial gene-sequencing platform in the world, we prefer to let our results speak louder than our words. This approach is built on a strong foundation: our deep engineering expertise paired with excellent quality control processes that we continuously develop and refine.
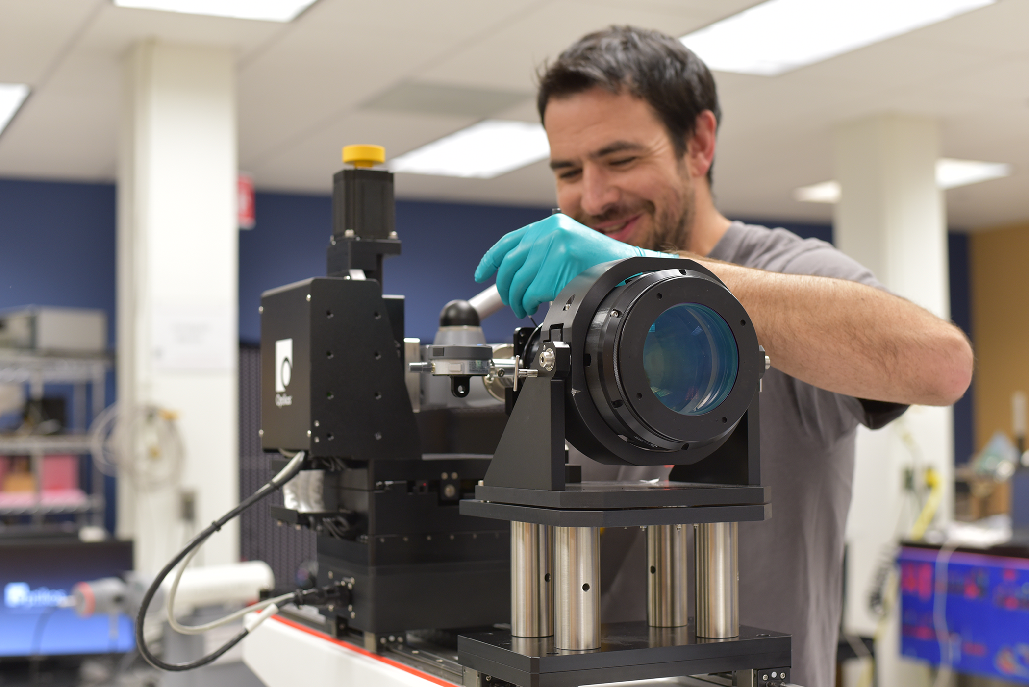
During World Quality Week, which happens every November, we’re reminded of the importance of having robust processes and standards in place. One important lesson we’ve learned in our company is that quality, especially in optics, is not abstract—it’s measurable. And that measurability is what enables concrete breakthroughs. As a business that prizes the art of metrology through everything we do, this precision-driven approach has allowed us to take on some of the most complex optical challenges. It’s also the ethos behind how we handle these challenges. For example, when a customer’s prototype failed their test protocol, rather than stopping, we invested weeks of additional testing to characterize the failure, identifying the specific modes that would inform design choices for the next iteration (the OpTest® was an incredibly useful solution in this scenario). Dan Connell, Principal Mechanical Engineer at Optikos describes the opportunity:
As with many Optikos programs, customers do not come to us if the solution is going to be simple. One example was an athermalized, Cassegrain telescope we’ve developed, with a particularly low telephoto ratio that presented unexpected performance results. Rather than accepting suboptimal results, our team conducted exhaustive analyses combined with rigorous thermal chamber testing using our proprietary test systems. This investigation revealed a subtle but critical sensitivity mechanism that had been overlooked in traditional designs. The breakthrough not only resolved the immediate performance issues but established new design principles that we now successfully apply to similar high-performance telescope systems. That’s how we do things.” – Dan Connell, Principal Mechanical Engineer at Optikos
That second prototype succeeded. This is what quality means in practice: not just determining whether something works but understanding precisely why it doesn’t and how to make it better. It’s a commitment that transforms setbacks into stepping stones for improvement.
At Optikos, we have also formalized our quality practices beyond what we do in metrology, and we’ve been doing it for decades. This year marks our 25th year of being ISO:9001 certified, which is the international standard for quality management systems that ensures consistent processes, customer focus, and continuous improvement across our operations. For life sciences, we also hold an ISO:13485 certification, which is specifically designed for medical device manufacturing and requires stricter controls for product safety, traceability, and risk management. We’ve completed two recertification cycles and are preparing for our third in 2026. Both standards require regular third-party audits to verify our processes, providing our business partners with independent confirmation that our systems meet international benchmarks. This framework is particularly valuable when working on applications where optical performance is critical to product success and safety.
Behind every certification, every measurement, and every successful project is a team of engineers who understand that quality is more than a checklist. It’s a mindset. World Quality Week gives us a chance to pause and recognize what sets Optikos apart: not just our 25 years of ISO certification or our advanced metrology capabilities, but our unwavering commitment to getting it right, every time. Whether we’re spending weeks characterizing a failure mode or calibrating systems for mission-critical applications, we approach each challenge with the same dedication to precision and improvement. That’s the backbone of our business, and it’s what our customers can count on.
